
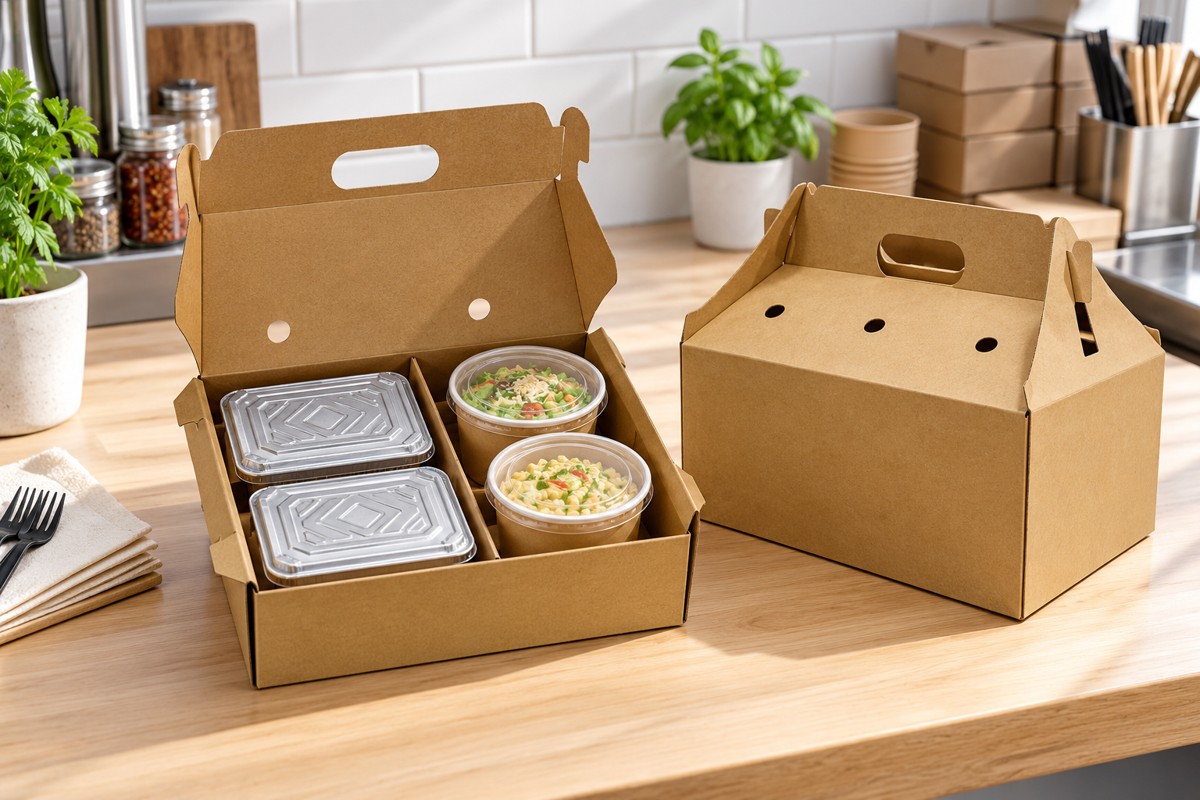
Food carrier sizing works best when you start with a complete customer order. The main food container is only one part of the load: sides, sauces, drinks, and utensils can change the space and support you need.
Lay out your most common orders
Build three examples: a typical order, a larger order, and the heaviest combination you regularly sell. Use the actual containers with lids attached. Include everything that needs to leave the counter together.
Arrange the components the way staff should pack them. Keep containers level and avoid placing heavy items on fragile ones. Measure the arrangement’s length, width, and height and record its weight.
Match the structure to the load
- Check usable internal space rather than relying only on external dimensions.
- Confirm how the bottom and closure are secured.
- Ask about the intended load and handling limits for the proposed carrier.
- Test whether staff and customers can comfortably lift and carry it.
A larger carrier is not automatically better. Too much unused space can allow containers to shift; too little space can distort lids or make packing slow.
Create a clear packing rule
Once you have tested a suitable option, photograph the approved arrangement. Give staff a simple rule for when to use that carrier and when an order needs a second package. Include a final check for lids, labels, and accessories before handoff.
W Packaging’s food and beverage carrier range provides a starting point. If you are adding branding, discuss custom printing after the fit and handling needs are clear.
Size your next carrier with confidence
Ask W Packaging about carrier options. Share your order layouts, dimensions, approximate weight, and expected usage so the conversation starts with the real load.